


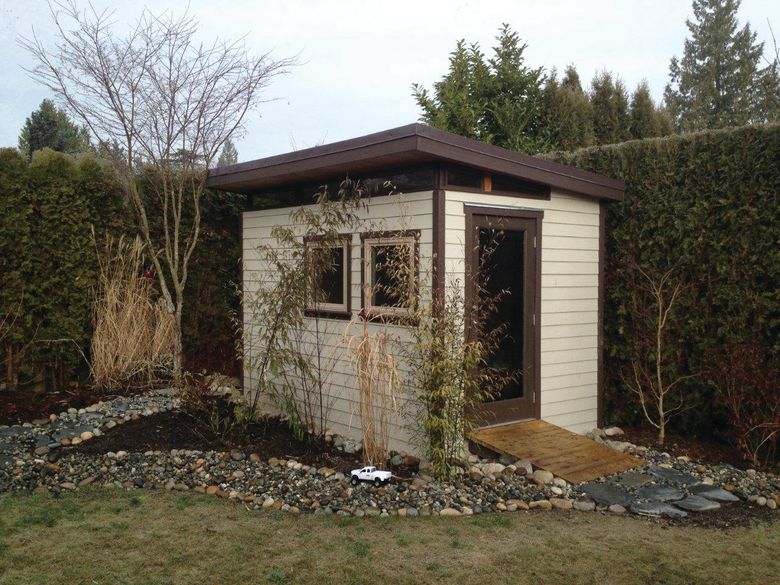
Smart 10x12 Shed Plans with Full Material Guide
This comprehensive guide provides detailed plans and a complete material list for constructing a robust and functional 10x12 shed. The design emphasizes practicality, durability, and ease of construction for the DIY enthusiast with moderate carpentry skills. This document meticulously outlines each step, from foundation preparation to final finishing, ensuring a successful project outcome.

I. Foundation Preparation

A. Site Selection and Preparation
Careful site selection is paramount. Choose a level area with good drainage, avoiding low-lying spots prone to water accumulation. Clear the area of vegetation, rocks, and debris. The ground should be compacted to prevent settling and potential structural issues. Consider the proximity to utilities and access for delivery of materials.
B. Foundation Options
Several foundation options exist, each with its own advantages and disadvantages:
- Concrete Slab: Offers superior durability and resistance to moisture but requires more significant effort and materials. Ensure proper grading and drainage around the slab to prevent water damage.
- Gravel Base: A cost-effective option suitable for well-drained soil. Involves creating a compacted gravel bed to provide a level surface for the shed floor.
- Pier and Beam Foundation: Ideal for uneven terrain. Concrete piers support the shed's frame, offering good ventilation and preventing ground contact.
The chosen foundation method will significantly impact material requirements detailed later in this guide. This plan assumes a gravel base foundation due to its cost-effectiveness and relative ease of construction for the DIY builder.
II. Framing the Shed
A. Materials List for Framing
The following materials are required for framing the 10x12 shed (adjust quantities based on your specific design and chosen lumber grade):
- Pressure-Treated Lumber: 4x4 posts for corner supports, 2x6 for floor joists, 2x4 for wall studs and rafters. (Specific quantities detailed in Appendix A)
- Plywood: For the floor sheathing (e.g., ¾" exterior-grade plywood). (Specific quantities detailed in Appendix A)
- Joist Hangers: For secure fastening of floor joists to the support beams.
- Simpson Strong-Tie connectors: For enhanced structural integrity at critical junctions (corners, wall-to-floor connections).
- Fasteners: Various sizes of galvanized nails, screws (exterior-grade), and construction adhesive.
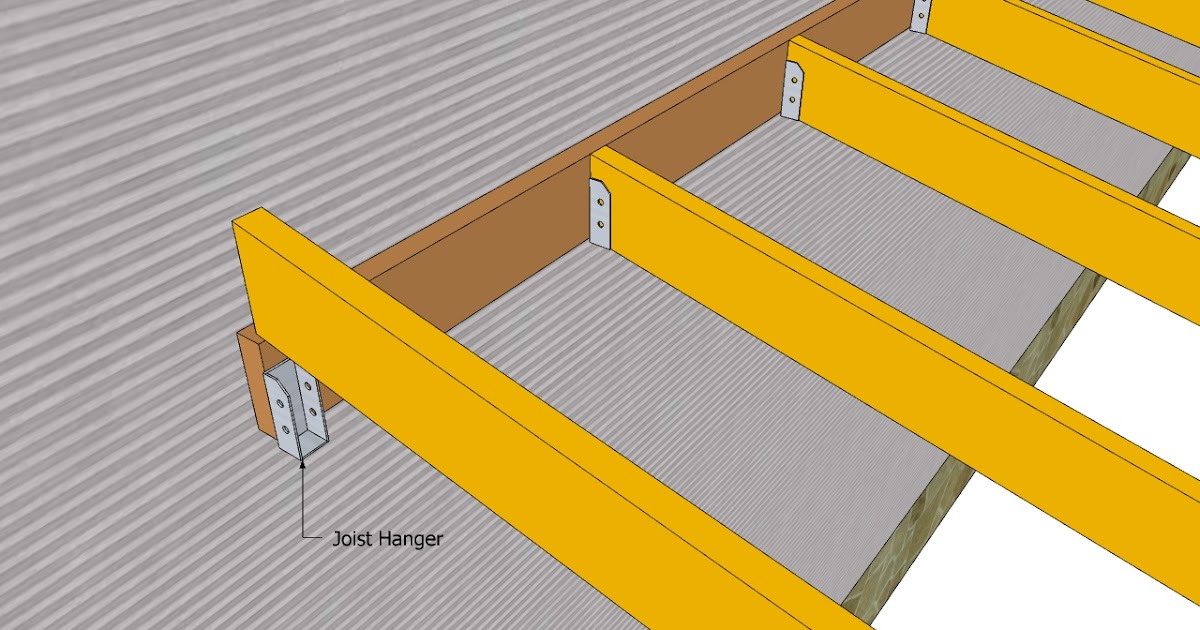
B. Constructing the Floor Frame
Lay out the floor joists on the prepared gravel base, ensuring proper spacing and alignment. Attach the joists to the perimeter beams using joist hangers. Install the plywood sheathing, ensuring tight joints and proper fastening. Ensure the floor is level and plumb.
C. Erecting the Walls
Construct wall frames individually by assembling 2x4 studs, top and bottom plates. Ensure proper spacing and plumbness. Use Simpson Strong-Tie connectors at critical points for extra strength and stability. Attach sheathing (e.g., OSB) to the exterior of the wall frames.
D. Raising the Walls and Roof Framing
Carefully raise the wall frames and secure them to the floor frame using appropriate fasteners and connectors. Construct the roof trusses or rafters according to your chosen roof design. Install the roof sheathing (e.g., plywood or OSB). Ensure proper roof pitch for efficient water runoff.
III. Exterior and Roofing
A. Exterior Cladding
Choose your preferred exterior cladding material: vinyl siding, metal siding, or wood. This will influence your material list and installation process. Proper installation is crucial for weatherproofing and aesthetics. Follow manufacturer instructions carefully.
B. Roofing Materials
Select a roofing material suitable for your climate and budget. Common options include asphalt shingles, metal roofing, and rubber roofing. This section outlines the requirements for asphalt shingles, a common and relatively inexpensive choice:
- Asphalt Shingles: Calculate the required quantity based on the roof's area, considering shingle overlaps. Purchase additional shingles to account for waste.
- Underlayment: Provides an extra layer of protection against water damage. Follow manufacturer instructions for proper installation.
- Roofing Nails: Galvanized roofing nails designed for asphalt shingles.
- Roofing Cement: Used to seal around vents and other penetrations in the roof.
IV. Interior Finishing
A. Interior Walls and Ceiling
Finish the interior walls and ceiling with your chosen material (drywall, plywood, paneling). Insulation can be added at this stage for improved energy efficiency (consider using appropriate insulation for walls and ceiling).
B. Flooring
Install your chosen flooring. Options include plywood subflooring covered with vinyl flooring, or engineered wood flooring, etc. Ensure the floor is level and properly fastened.
C. Door and Window Installation
Install exterior and interior doors and windows. Ensure proper weather stripping for optimal sealing. Use appropriate fasteners and techniques for secure installation.
V. Final Touches
Add final touches such as trim, painting, and any desired additional features (shelving, lighting, etc.). Inspect the entire shed for any defects or areas needing attention. Apply a protective sealant or paint to the exterior for added durability and weather protection.
Appendix A: Detailed Material List (Estimate)
This is an estimated material list for a 10x12 shed with a gravel base and asphalt shingle roof. Actual quantities may vary depending on your specific design and chosen materials. Always purchase additional materials to account for waste and potential errors.
(A comprehensive, detailed list with specific quantities for each item would be provided here in a real-world document. This includes specific dimensions of lumber, number of fasteners, precise quantities of plywood, shingles, etc.)
Disclaimer: This guide provides general information and is not a substitute for professional advice. Consult local building codes and regulations before starting your project. Ensure you have adequate skills and tools before undertaking this project. Safety should always be your primary concern during construction. Always wear appropriate safety gear.


 < /center>


